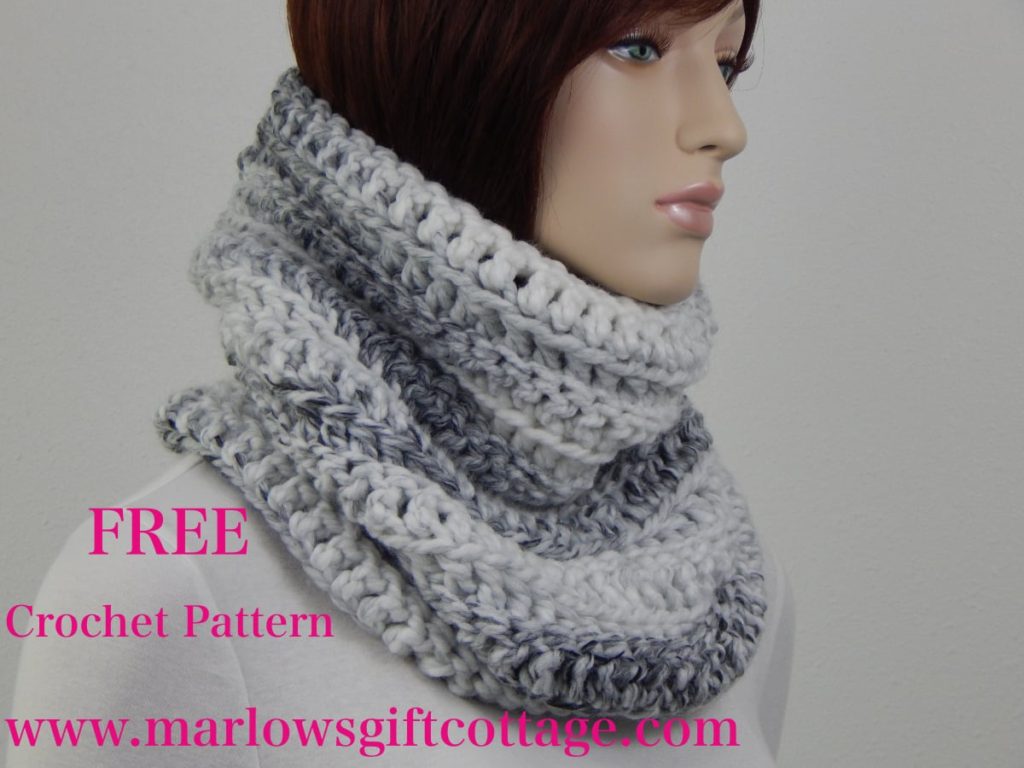
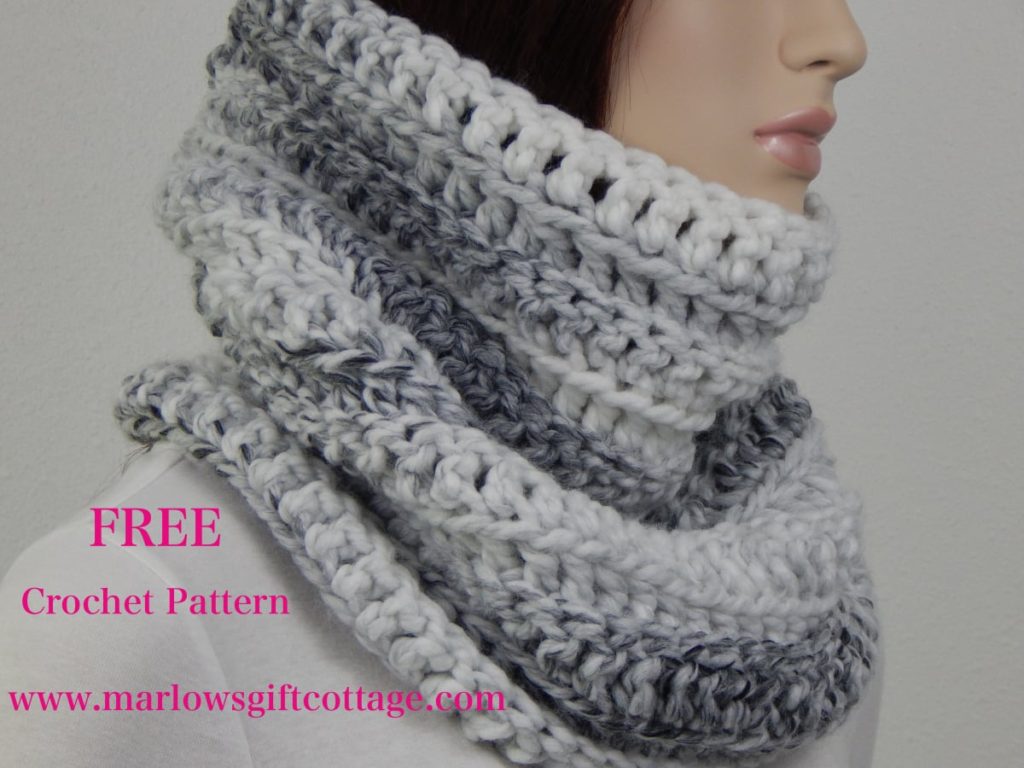
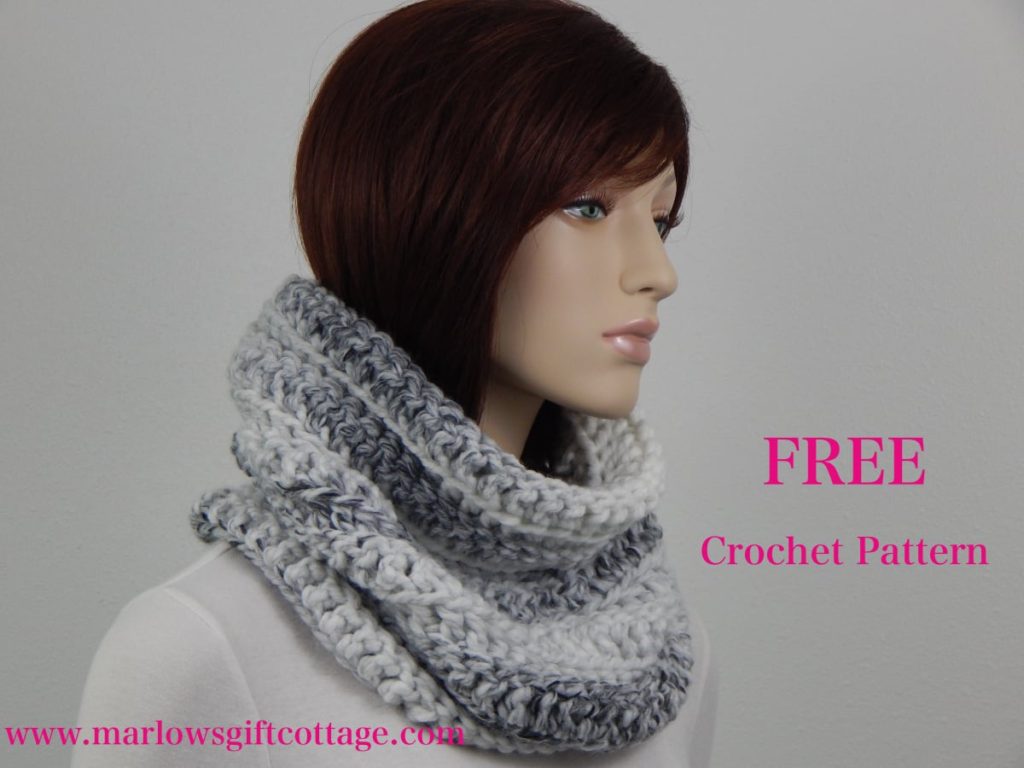
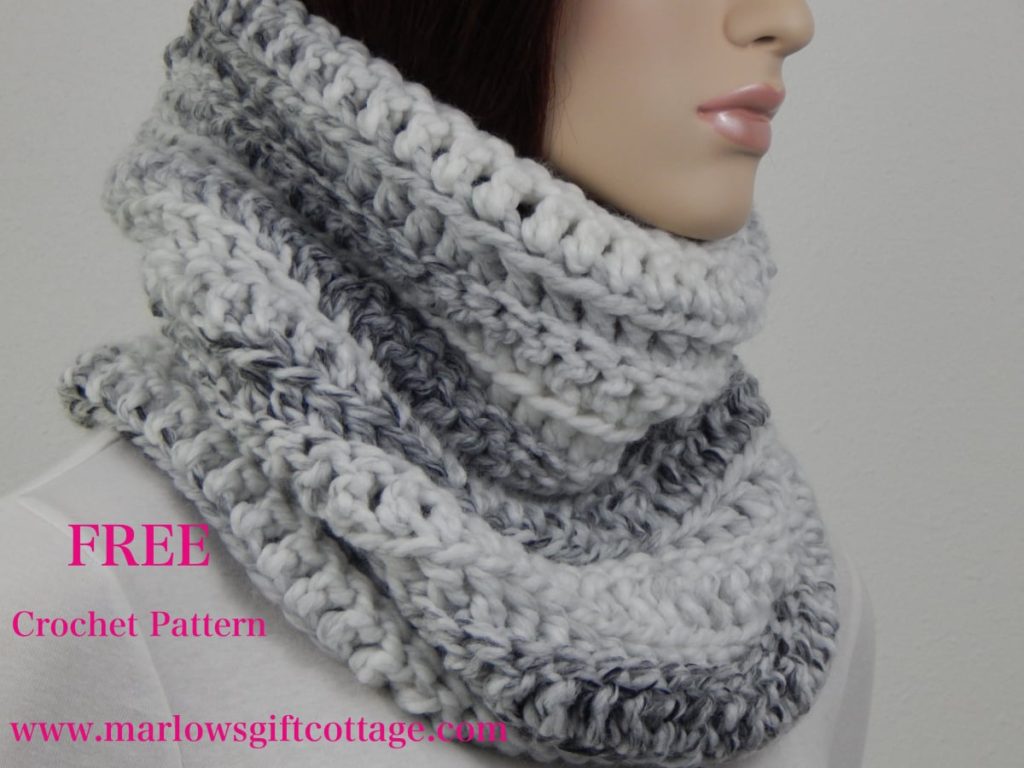
The Marble Cowl is a free crochet pattern, here on my blog! It is great design for a beginner crocheter. It is made to be more snug under the chin area and is one size fits most women and teen girls…due to its ability to stretch. This easy to crochet, tube style cowl pattern –The Marble Cowl– is a great Winter scarf to keep your neck extra warm on those really cold walks!
This post may contain affiliate links, which means I’ll receive a commission if you purchase through my link, at NO extra cost to you. Learn more here.
Read on to learn more about my MarlowsGiftCottage Etsy shop, design inspirations, and free pattern details.
The Marble Cowl Crochet Pattern #341 is made with super bulky, size 6 yarn, making it a sturdy, thick, and a quick project. The yarn used for this pattern is Lion Brand Yarns Wool-Ease Thick and Quick in Marble. Thick and Quick is available in so many gorgeous colors and combinations! Below you will find the free pattern. You can also purchase an inexpensive, printer-friendly, PDF of this pattern at my Etsy shop MarlowsGiftCottage, or with the direct pattern link here.
My MarlowsGiftCottage Etsy shop has all of my original crochet pattern designs. You will find slouchy hats, beanie hats, ear warmers, headbands, scarves, cowls, wraps, blankets (baby, afghan, throw), baskets, bowls, etc.
You will also be able to order my finished slouchy hats, and beanies, in tons of color choices and styles.
Crochet Pattern #341 The Marble Cowl
Super Bulky Cowl
© Marlow’s Gift Cottage, LLC
Advanced Beginner
Please read all directions before beginning project.
Size: Cowl is approximately 14” in height and approximately 20” in circumference at bottom, and approximately 19” in circumference at top (meant to be slightly snugger under chin area).
Materials List:
-Super Bulky Weight (size 6) yarn, 2 skeins…Pictures are shown using Lion Brand Yarns Wool-Ease Thick & Quick in Marble (87 yards per skein)
–US N/15-10.00 mm crochet hook…check gauge…feel free to change hook size to get the correct gauge.
–Tapestry Needle (for weaving in ends)
Gauge:
The gauge is approximately 8 dc X 4 rows = 4 in x 4 in
Notes:
-Make sure you are joining directly into the top of ch 3 at the end of each round. You will have 2 strands above hook and 1 below. Do NOT join into the gap between the ch 3 and the next dc. Joining into the gap will create a hole.
-ch=chain, dc= double crochet, fl= front loop, bl= back loop, dc dec= double crochet decrease, sl st= slip stitch, st(s)= stitch(es), YO= yarn over
-Count your stitches after each round to be sure you do not miss a stitch
-ch 3 counts as first dc
-R1 is right side
Special Stitches:
bl dc dec: back loop double crochet decrease= YO, insert your hook into the back loop of the next st, YO, draw the yarn through the st, YO, draw the yarn through the first 2 loops on your hook, YO, insert your hook through the back loop of the next st, YO, draw the yarn through the st, YO, draw the yarn through the first 2 loops on your hook, YO, draw the yarn through all 3 loops on your hook…this will equal 1 complete back loop double crochet decrease
fl dc dec: front loop double crochet decrease= YO, insert your hook into the front loop of the next st, YO, draw the yarn through the st, YO, draw the yarn through the first 2 loops on your hook, YO, insert your hook through the front loop of the next st, YO, draw the yarn through the st, YO, draw the yarn through the first 2 loops on your hook, YO, draw the yarn through all 3 loops on your hook…this will equal 1 complete front loop double crochet decrease
Instructions:
- An inexpensive, printer-friendly, PDF version is available here, if you prefer… along with my complete portfolio of all of my original crochet patterns.
- Click here, if you would like to see/order completed versions of my slouchy hats/beanies.
ch 50, join with sl st to first ch to form ring…be sure not to twist ch.
R1: ch 3 (ch 3 counts as first dc), dc in next st and each st around. Join with sl st to top of ch 3 = 50 sts
R2: ch 3 (ch 3 counts as first dc), turn, fl dc in next st and each st around. Join with sl st to top of ch 3 = 50 sts
R3: ch 3 (ch 3 counts as first dc), turn, bl dc in next st and each st around. Join with sl st to top of ch 3 = 50 sts
R4: ch 3 (ch 3 counts as first dc), turn, fl dc in next st and each st around. Join with sl st to top of ch 3 = 50 sts
R5: ch 3 (ch 3 counts as first dc), turn, bl dc in next st and each st around. Join with sl st to top of ch 3 = 50 sts
R6: ch 3 (ch 3 counts as first dc), turn, fl dc in next st and each st around. Join with sl st to top of ch 3 = 50 sts
R7: ch 3 (ch 3 counts as first dc), turn, bl dc in next 22 sts, bl dc dec, bl dc in next 23 sts, bl dc dec. Join with sl st to top of ch 3 = 48 sts
R8: ch 3 (ch 3 counts as first dc), turn, fl dc in next 9 sts, fl dc dec, fl dc in next 10 sts, fl dc dec, fl dc in next 10 sts, fl dc dec, fl dc in next 10 sts, fl dc dec. Join with sl st to top of ch 3 = 44 sts
R9: ch 3 (ch 3 counts as first dc), turn, bl dc in next st and each st around. Join with sl st to top of ch 3 = 44 sts
R10: ch 3 (ch 3 counts as first dc), turn, fl dc in next st and each st around. Join with sl st to top of ch 3 = 44 sts
R11: ch 3 (ch 3 counts as first dc), turn, bl dc in next st and each st around. Join with sl st to top of ch 3 = 44 sts
R12: ch 3 (ch 3 counts as first dc), turn, fl dc in next st and each st around. Join with sl st to top of ch 3 = 44 sts
R13: ch 3 (ch 3 counts as first dc), turn, bl dc in next 8 sts, bl dc dec, bl dc in next 9 sts, bl dc dec, bl dc in next 9 sts, bl dc dec, bl dc in next 9 sts, bl dc dec. Join with sl st to top of ch 3 = 40 sts
R14: ch 3 (ch 3 counts as first dc), turn, fl dc in next st and each st around. Join with sl st to top of ch 3 = 40 sts
Fasten off. Weave ends.


